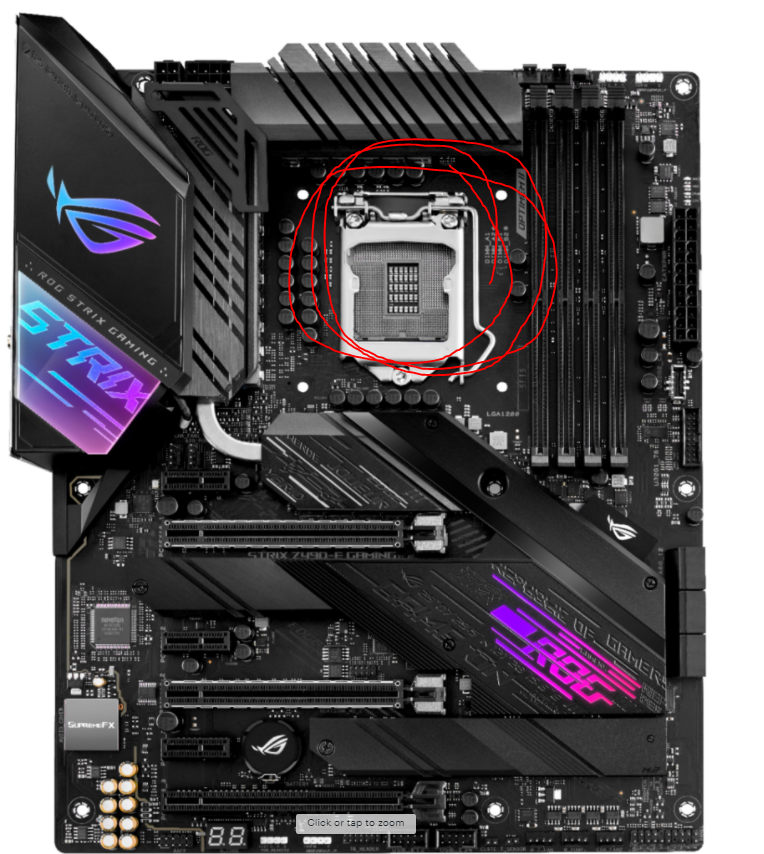
- Take the motherboard out and put the CPU in it's correct socket. Which is towards the center and lift the lever up before putting it in, that way it'll lock in place.
Note: There should be a little arrow on the cpu, align that with the arrow that is on the socket.
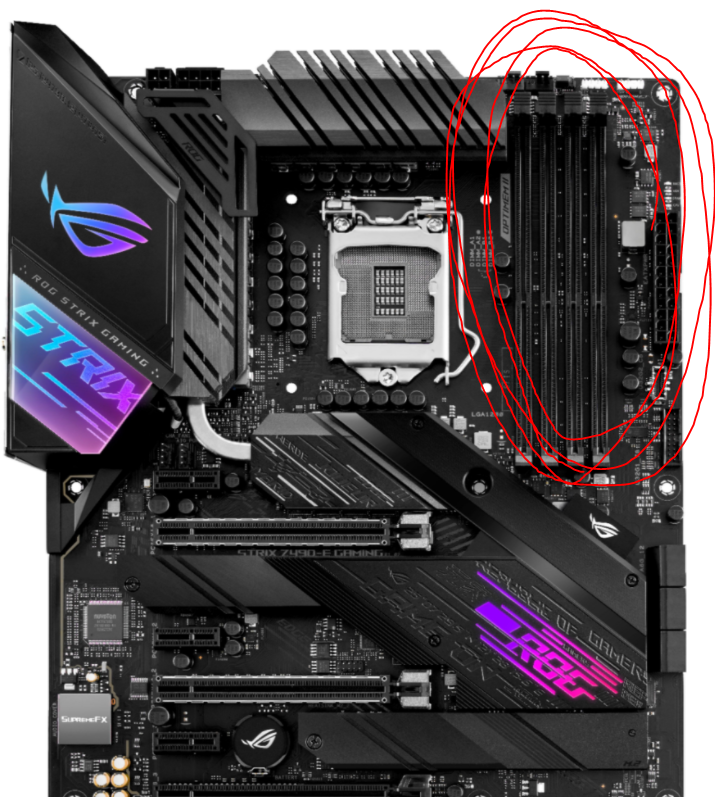
- Next you would put your ram sticks in their socket life the tabs up and lock it in place. (note: Your motherboard might have a dual so make sure to put them in the correct slots.)
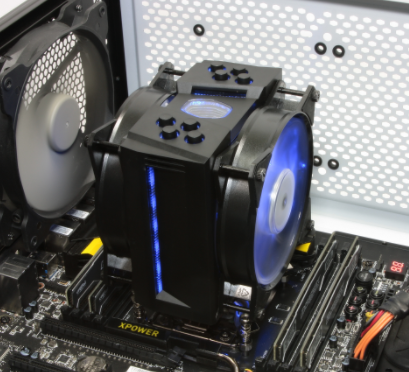
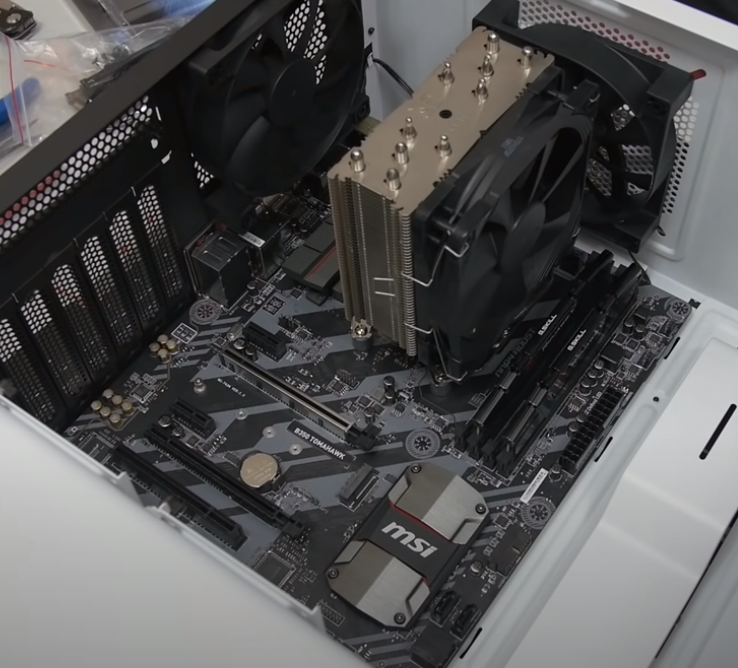
- Put the your cpu cooler on the cpu (Either stock, aio, or aftermarket, each cooler has their own set of instructions so be sure to follow them.)
like this ^^
- Get your case out, screw your motherboard into the case. You would do this by using the standoffs your case has given you when putting it in place.
Make sure you install the io shield first before putting the motherboard in!
- We are installing the power supply next. Grab your power supply and install either at the front or the back of your case (You may notice you have a lot of wires for your PSU, We'll deal with that later.
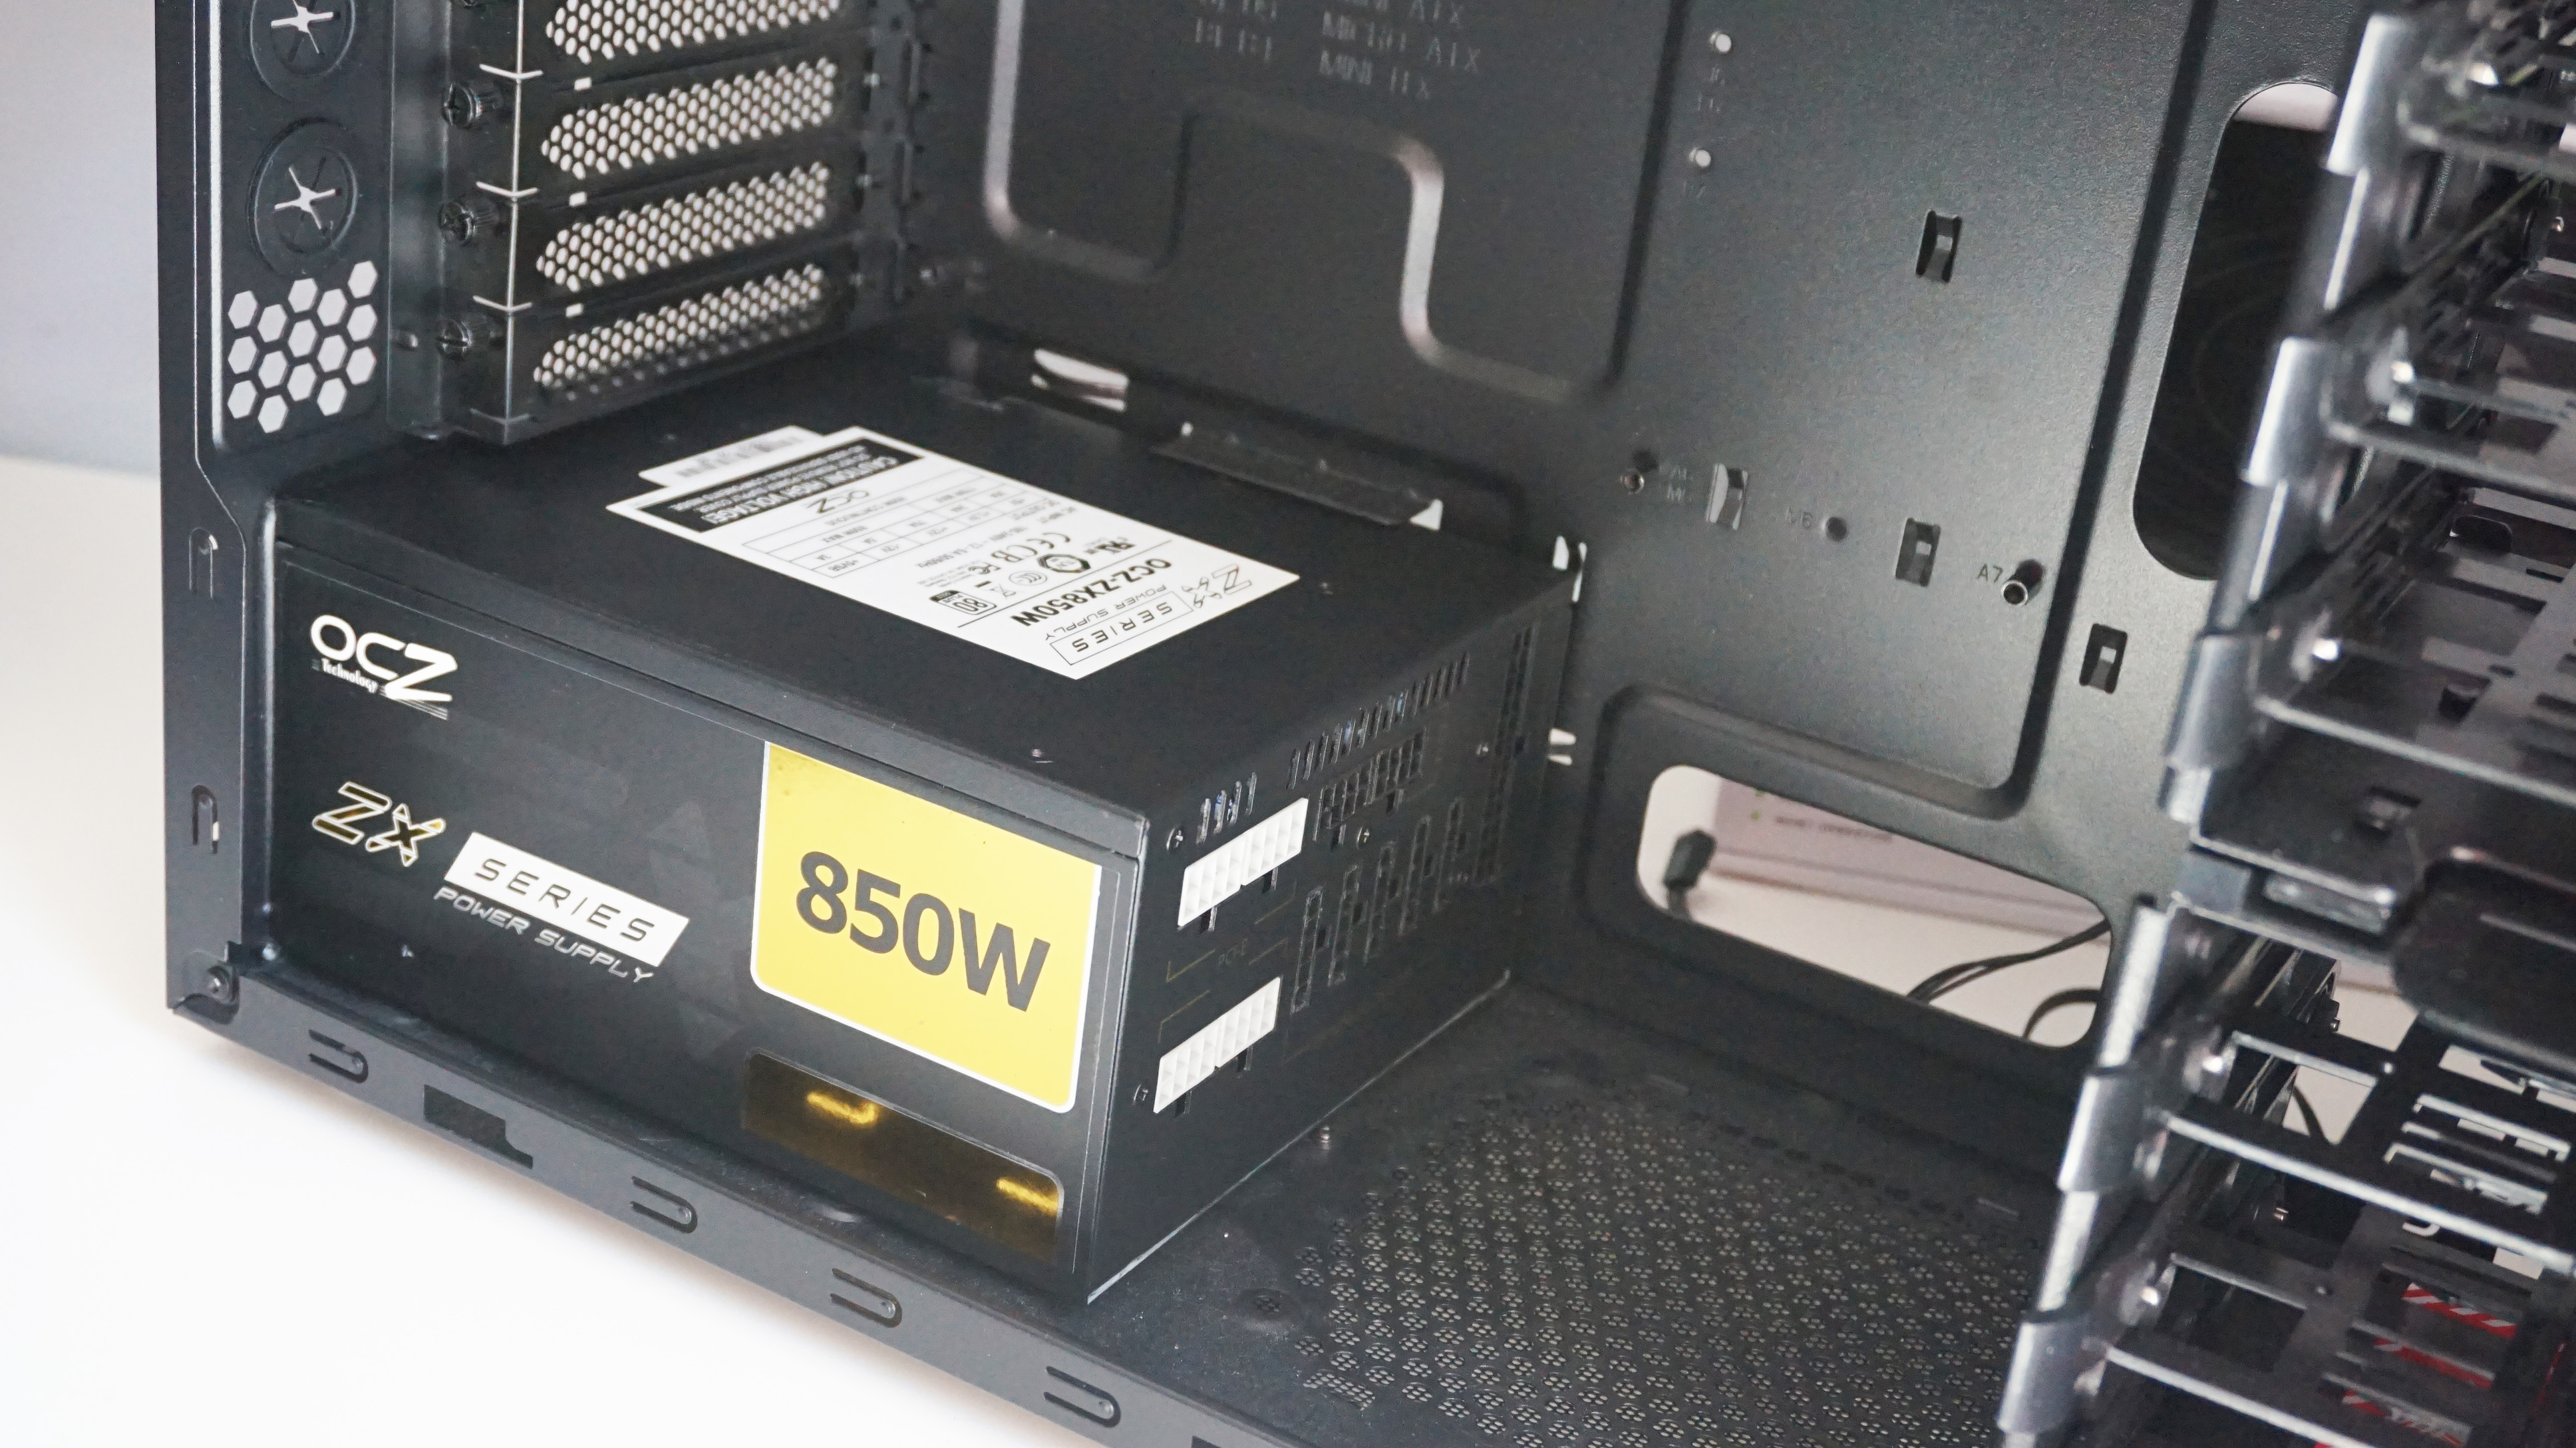
There should be two sets of cables for your case. One set from your power supply which power your main components and one coming from the front of your case.
First let's deal with the case cable set first. Those should power your your front io (power button, usb, usb 3.0, headphone jack)
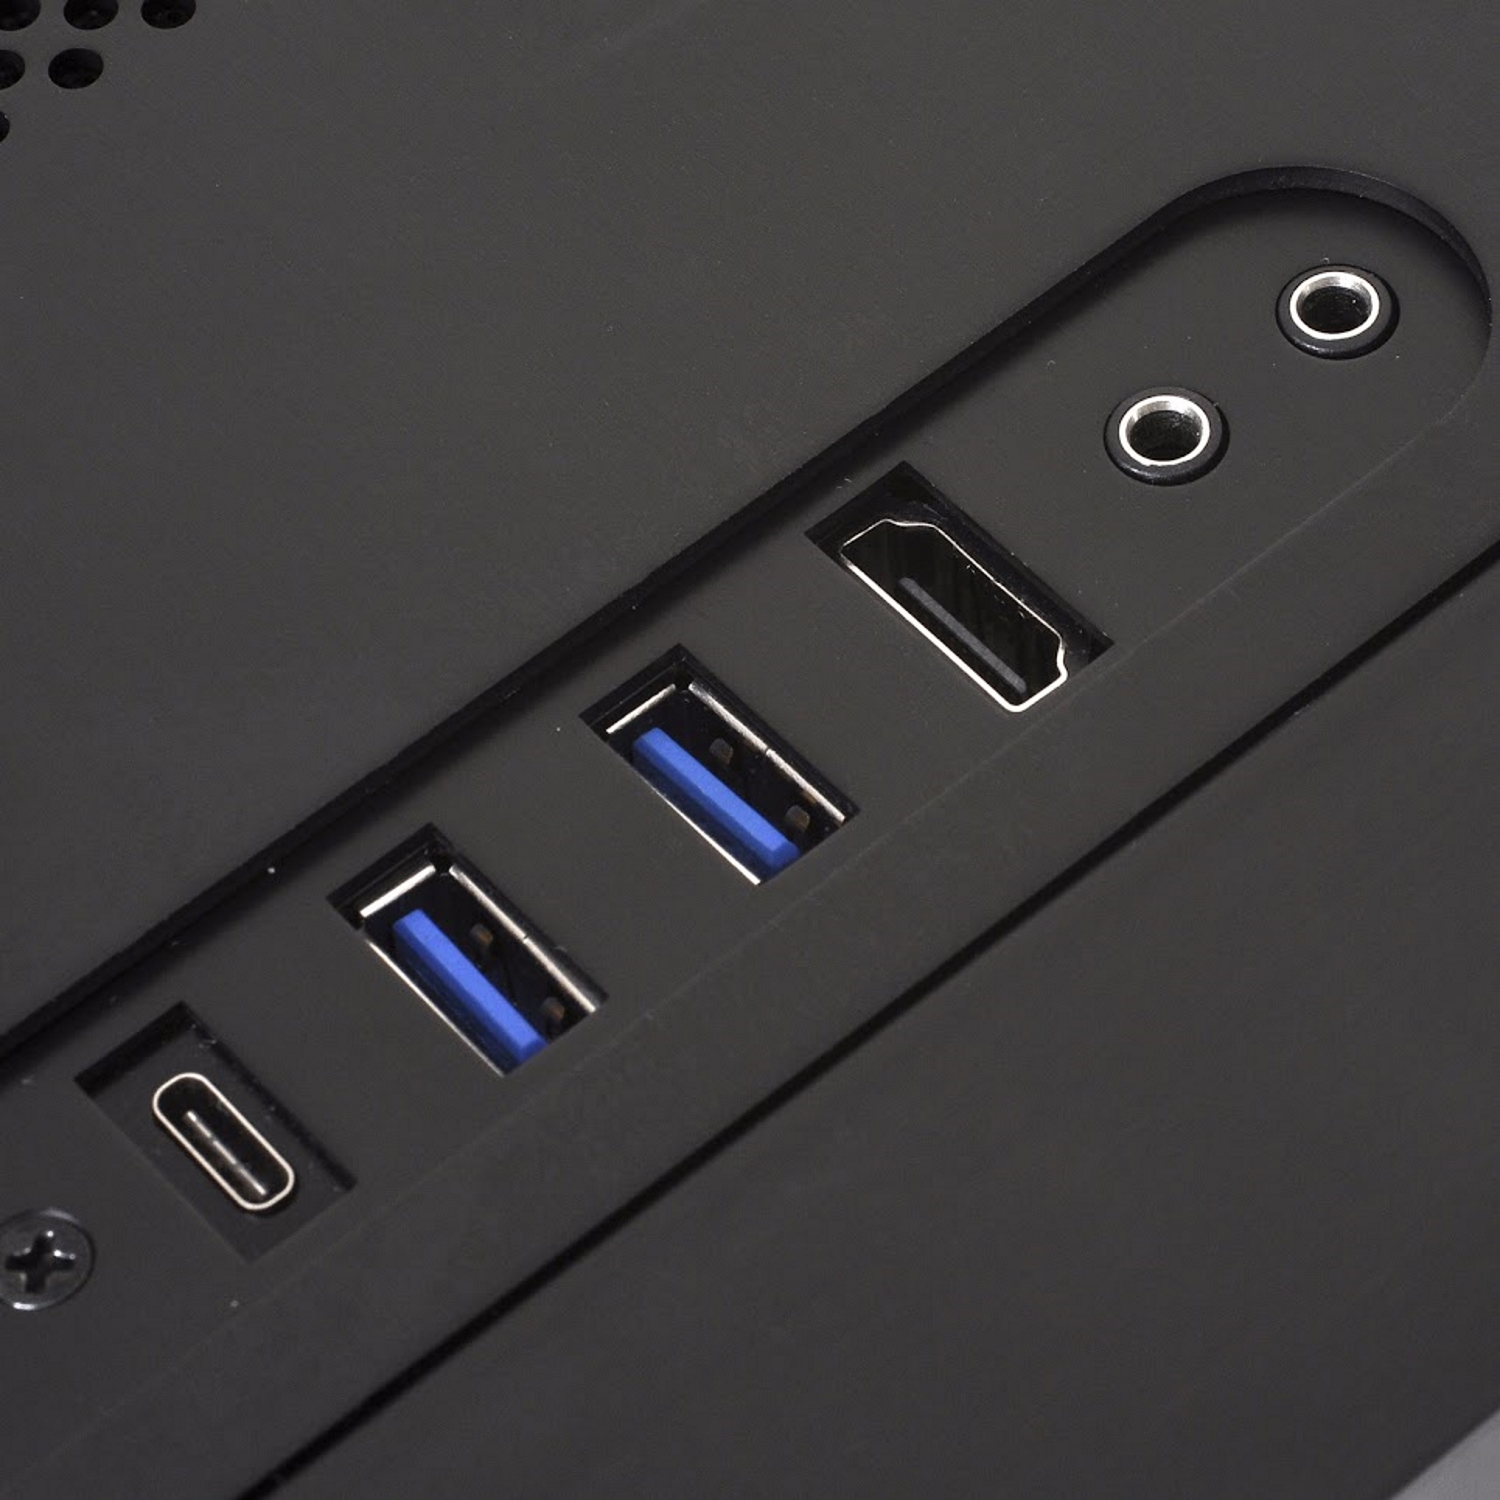
Put the cables where there supposed to be in the motherboard (look at your motherboard panel to make sure which cable goes where)
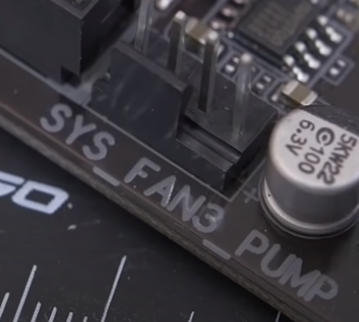
- You might've gotten some case fans for your pc so connect your fans to the fan header on your motherboard
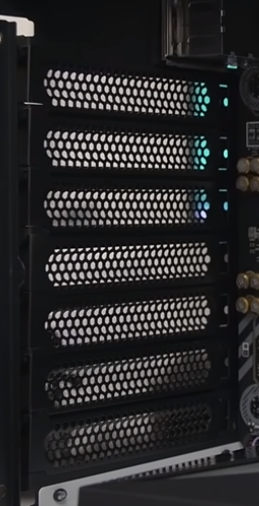
- Hard Drives and SSD's: You can install the hard drives at the back of your case (your case should have a mount so use that) and for your SSD it should also be in the back or front.
Use your SATA cables coming from your power supply and connect it to them.
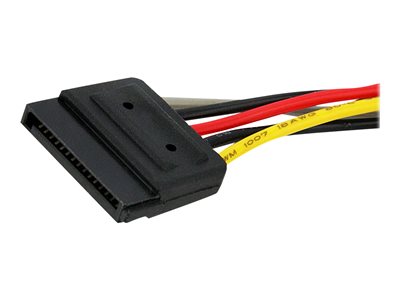
SATA cable ^^
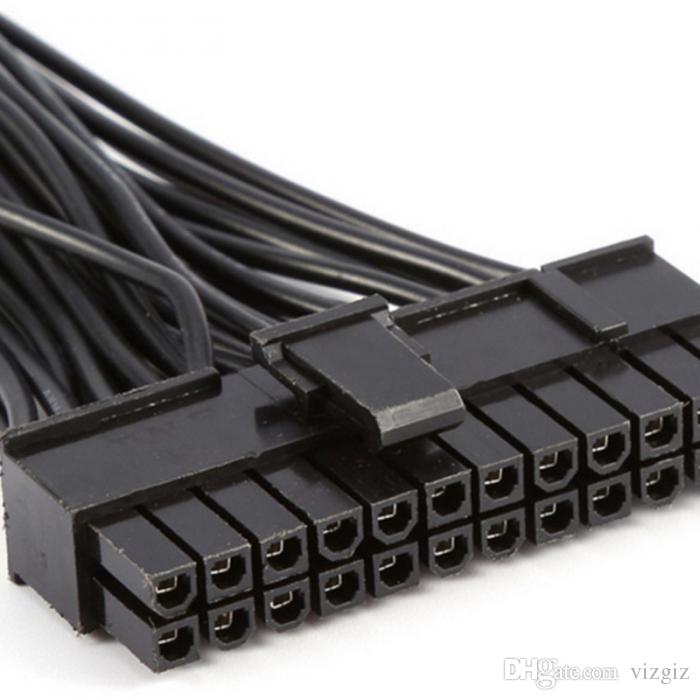
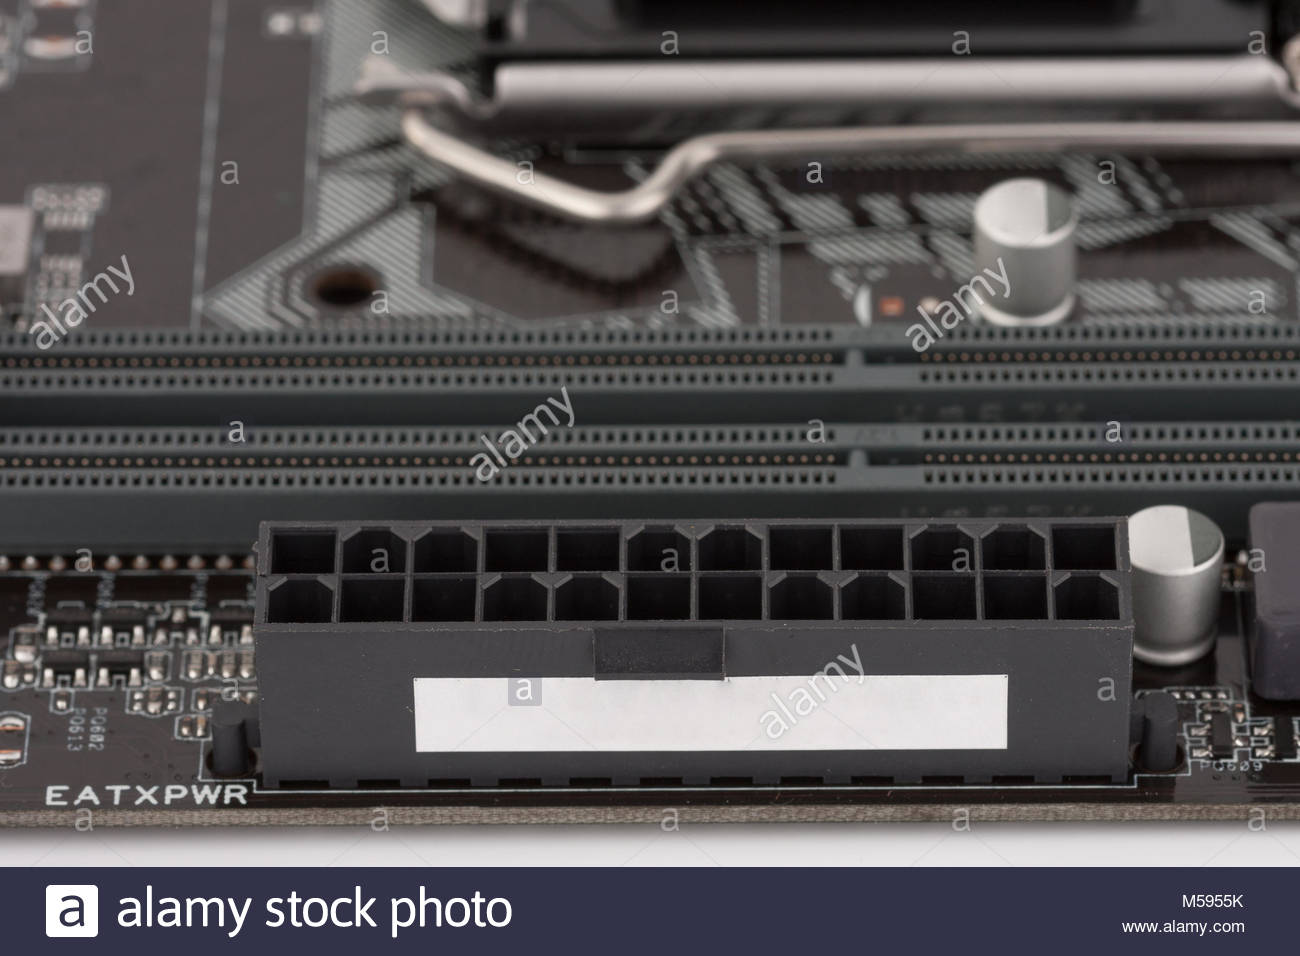
- Next would be to connect your 20+4/24 pin connector cables and hook them up to your motherboard.
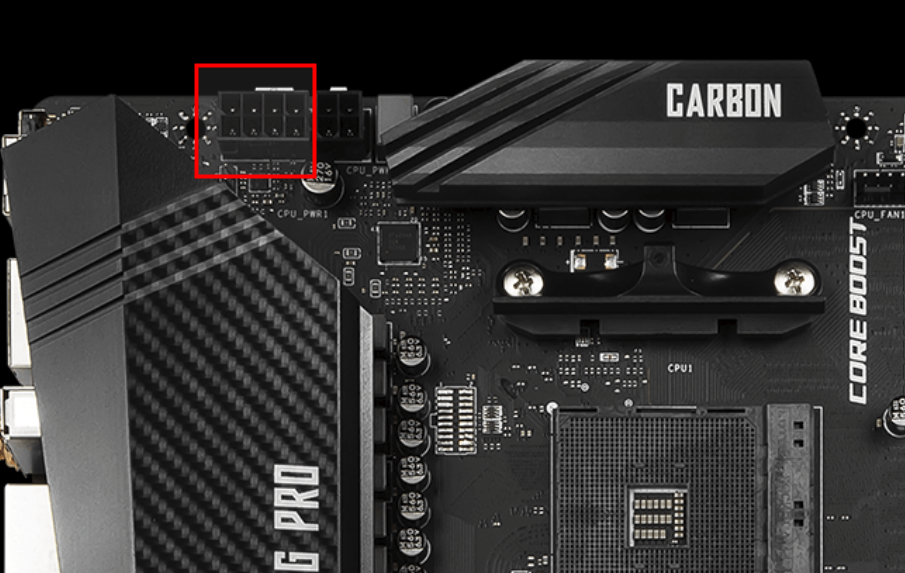
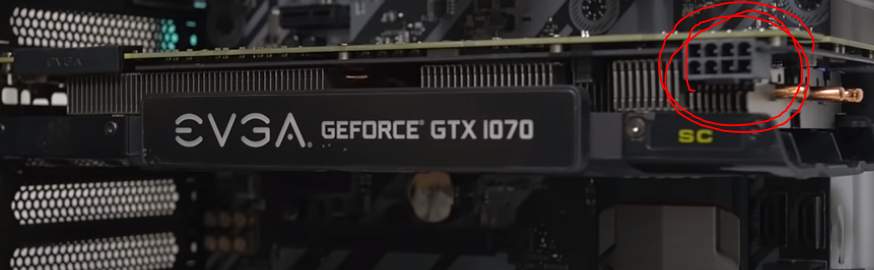
- Installing the cpu connector: You should have a 8 pin cpu connector coming from your power supply (either it'll come in 8 pin or 4 by 4)
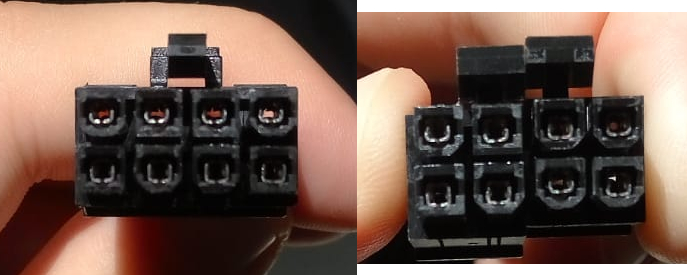
Use this connector and connect it to the motherboard (It should be on top to the right of the cpu)
- GPU Installation: Yay, Our last component! To do this locate the PCIe *16. Which should look this. (Motherboards usually have multiple slots but the top one would usually be the one you use.
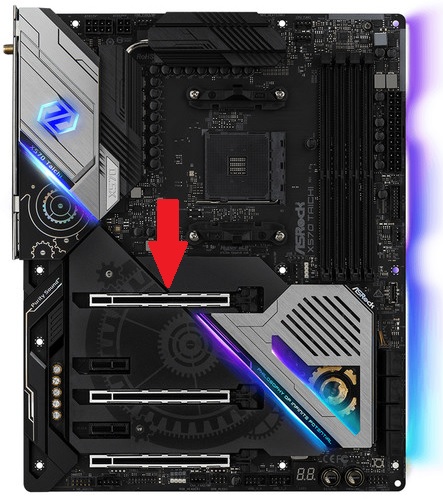
- Lower the slot by the pcie slot and remove the expansion slots to the left of it. (Usually you would take off 2 slots but some graphics cards might need more due to their size.
To know which expansion slots to remove; find one adjacent to the slot itself and take out the other one below that first slot.
Unscrew the slots using your screw driver and line your GPU in with the slots. When you push your card in, you should notice a satisfying click which you means you installed it successfully.
Take your expansion slots again and screw them right back in!
- Almost there, now we just need to plug in our 8 or 6+2pin PCIe connector (it comes with your power supply. if you have a extension cable for it route to the back of the computer and connect to it) at the front of the graphics card.
Like this ^^
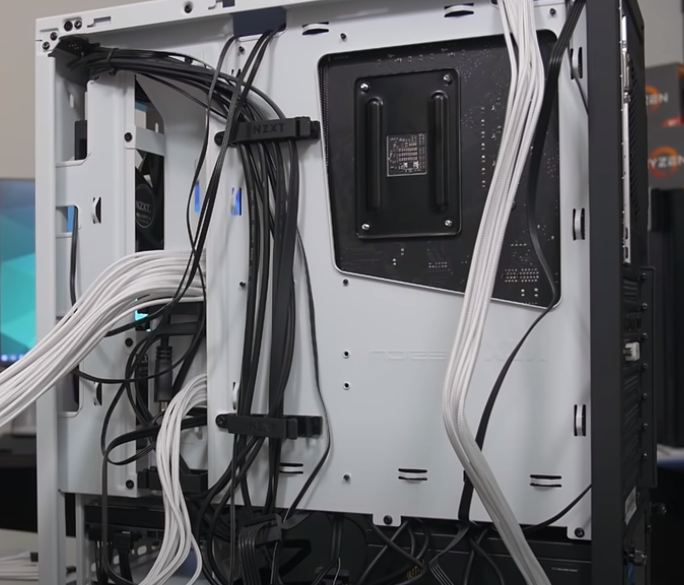
- We do have to worry about cable management next but if you like your pc messy then your basically done. You can order zipties online to manage your cable or your pc case might come with some.
- Now we are done setting up your pc, hooray! If you would like to, you can look up guides on how to set up your pc and operating system (windows or linux) online but anyways bye!